Installation Guide
Maniscalco offers a wide range of stone, glass, metal and blended element products, suitable for both domestic residential and commercial installations.
Always refer to the TCNA and or the ANSI publications for specific installation standards, always use an accredited licensed contractor experienced in the art of installing mosaic products.
More detailed information regarding the technical characteristics of individual products can be obtained by contacting Maniscalco at techinfo@maniscalcostone.com. Please include the product item code and intended usage, as well as contact details with your inquiry.
Installation Instructions
Recommended Substrates:
- Properly cured mortar beds-ANSI A108.1B (cured a minimum of 7 days).
- Cementitious backer units (CBU)-ANSI A118.9.
- Concrete slabs cured for 28 days minimum.
- Gypsum board (dry areas only)-ASTM C1396 or ASTM C1396M-04.
- Note: An ANSI A108A-2.1.8 membrane is required behind all CBU installations in wet areas.
- Note: All glass, foil backed glass, stainless steel and copper metal, aluminum, resin metal and blended element products must be set a minimum of 8”away from any naked flame.
Setting Materials & Methods:
Setting material requirements will vary dependent upon the type of mosaic product being installed and the nature of the substrate.
- Advice on the appropriate setting materials should be sought from your tile and stone dealer at the time of purchase.
- Only use setting materials that meet or exceed TCNA guidelines
- Only use an accredited licensed contractor experienced in the art of installing mosaic products.
- Setting methods must conform to the TCNA guidelines.
- Always cut the Victoria Metals with finished side down. During the cutting process, feed the aluminum product through the blade at an extremely slow speed to avoid grabbing.
- Do not cover/protect the Victoria Metals with adhesive tape of any kind.
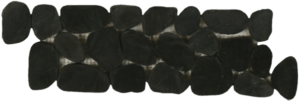
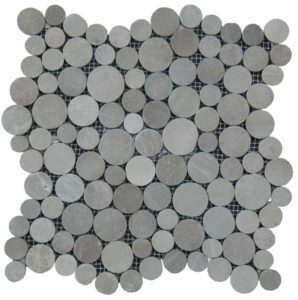
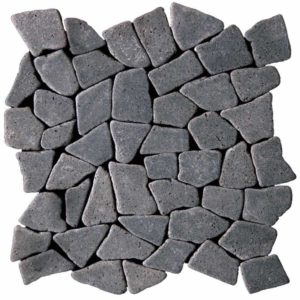
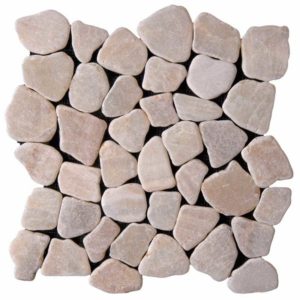
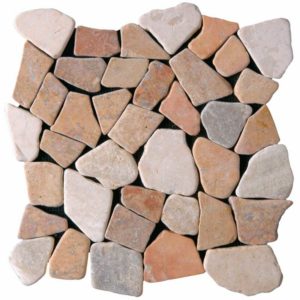
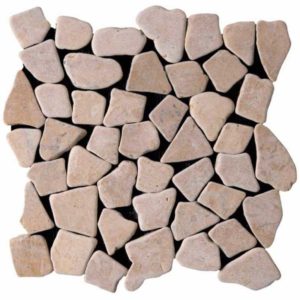
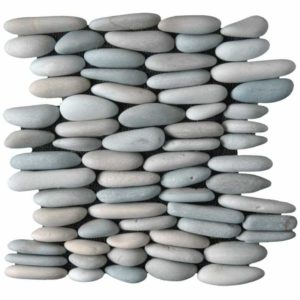
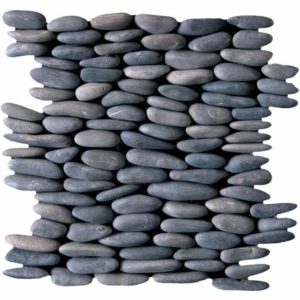
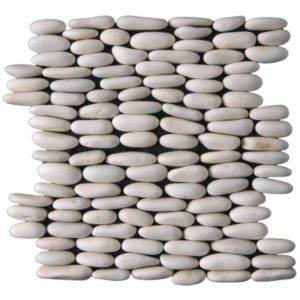
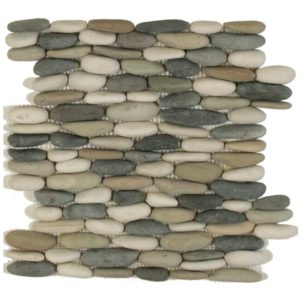
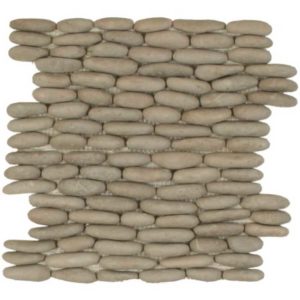
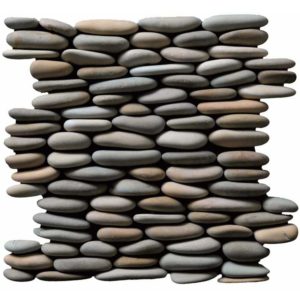
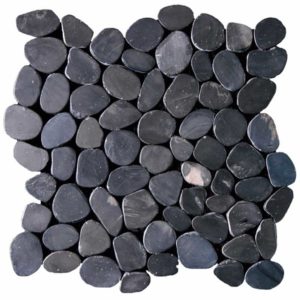
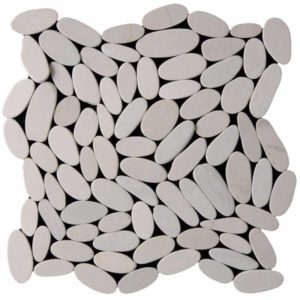
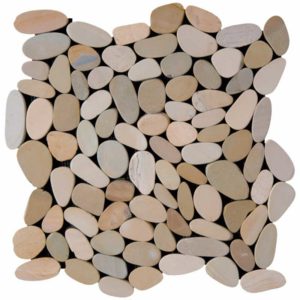
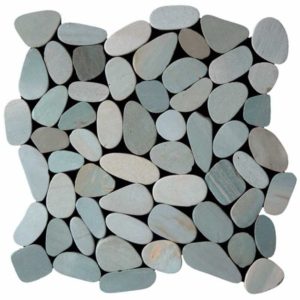
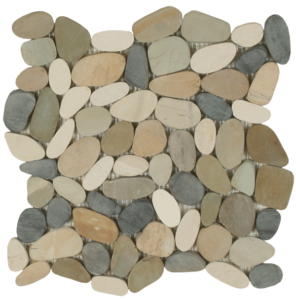
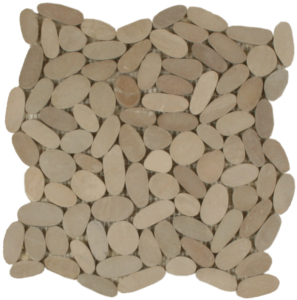
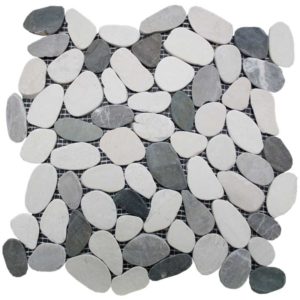
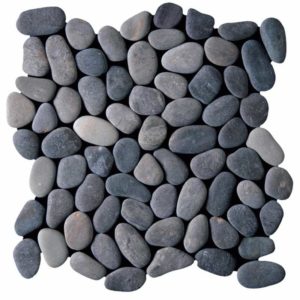
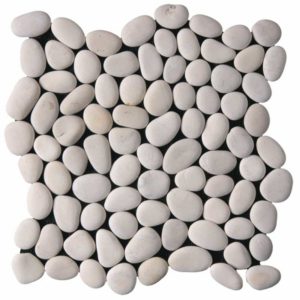
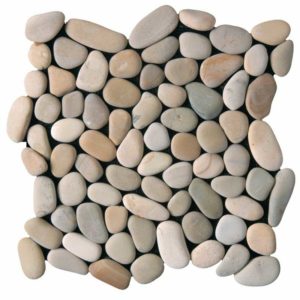
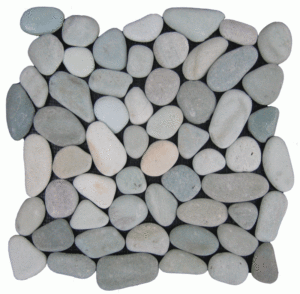
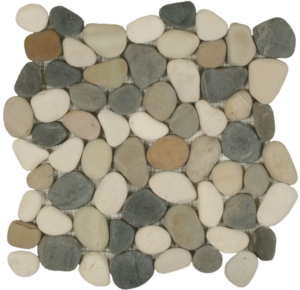
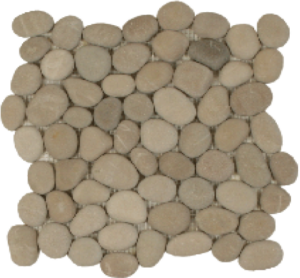
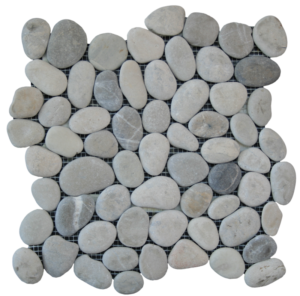
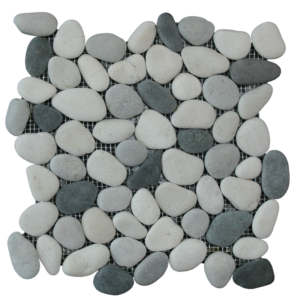
- When installing our Botany Bay Pebbles, in order to get a seamless interlock from sheet to sheet you may need to rotate the sheets to find the optimal interlocking side with the least amount of gap. You may also need to remove and reposition pieces to fill in the gaps.
Note: Grout Selection:
The use of sanded and some premixed urethane micro glass bead enhanced grouts may cause damage to scratch sensitive surfaces. Always check with your Stone and Tile Dealer, Setting Contractor or Grout Manufacturer before selecting the grout type. Maniscalco is not responsible for any damage to the tile surface due to incorrect grout selection or incorrect grouting procedures.
Sealing Guide:
Sealing prior to grouting is recommended for all Stone mosaics and some Glass mosaics (see note below for Venetian Glass).
Stainless Steel, Antique Copper, Aluminum and most Glass mosaics do not require sealing.
Sealing of Ceramic and Porcelain tiles will depend on the glaze. Please see notes below.
Re sealing is required throughout the life of the product.
Note: Pre-sealing prior to setting is necessary when installing Venetian Glass since it can protect the micro-cracks in the glaze.
Note: The following Contour colors need to be sealed with a penetrating sealer: Electric Blue (CLEB416,CJEB128)
Note: When sealing Botany Bay pebbles expect some darkening of the color. Test sealer on a sample area first.
Note: When sealing Botany Bay pebble color Stained Black, use a water based sealer.
Note: The following Kaleidoscope colors need to be be sealed with a penetrating sealer: Aquamarina (KAM3X6,KAM112), Castille (KCS3X6,KCS112) and Emerald (KEM3X6,KEM2X8,KEM312,KEM112).
Note: When sealing Pele Pebbles we recommend a water-based sealer.
The sealer must be suitable for natural stone, and we suggest applying it before and after
grouting (even on the glazed products, since it can protect the micro-cracks in the glaze.
Special Instructions for Select Products:
Some products that have installation steps that are specific to a certain product line or SKU. The links here provide useful information for installers of those products:
- Little Sandy Pebbles
The recycled glass pebbles are harder than the natural stone pebbles. It is recommended that installers cut these tiles at a slower rate.
Special Instructions for Little Sandy Pebbles

